Festive Tin Can Planters

Image

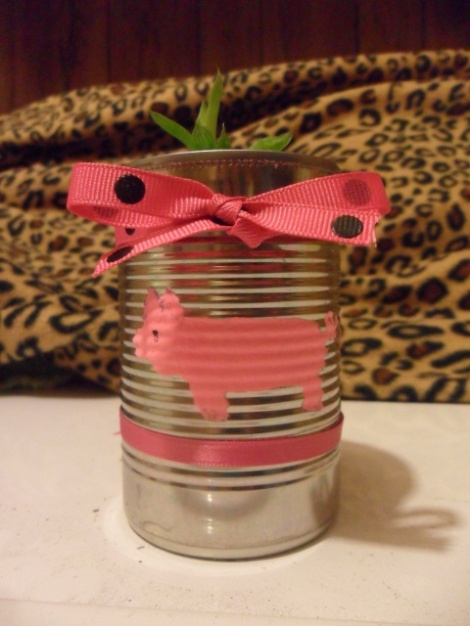
I made a few planters for some of my greens during the winter. The only non-recycled material in these is the paint. This is a fun, simple, and easy way to reuse tin cans and to grow a bit of food during the winter months. This is also a great option for those who live in an apartment or a home that doesn’t have much space for putting in larger planters or gardens.

These planters can be used to grow many different things from radishes to greens to fresh herbs. Pretty much any plant that is relatively small or that can be easily contained within a pot will work great for planting in these tin cans.

In my planters I have planted Spinach and Heritage Lettuce to grow for the chickens so that they will have a steady supply of freshly picked greens throughout the winter months. I have also planted Thyme, Coriander, Basil, and Mint in a few others so that I will have some more fresh herbs for cooking this winter.

Making these planters is very simple and is a great project for kids. Below are the steps to making a Tin Can Planter.

1. Thoroughly clean a used tin can and be sure there are no sharp or jagged edges on them. If there is a sharp edge, simply file it down with a nail file until it is smooth. Remove the label from the can and either place it in the recycling bin or throw it on the compost pile.

2. Using a hammer and nail poke 1-5 small holes in the bottom of the tin can. These holes will allow any extra water to drain out if you over water the plants.

3. Be sure the outside of the can is clean and dry so that the paint will have the best chance of sticking. I used a Soy Based Acrylic paint for this project, but any acrylic paint will work for this. I’ve found that acrylic paints work best with smooth metal surfaces. A waterproof paint will also help to ensure the design isn’t washed off when you accidentally spill water on the outside of the can.

4. Select your pattern or design for painting and paint it. I chose a Pig for the one pictured above, but let your imagination be your guide and paint whatever you feel will look best on your planters. Once you’ve selected your design, go ahead and paint. You will probably need at least two coats of paint for the best color, but be sure to let the paint dry completely before the next coat is applied.

5. Once your design is painted you may choose to add some ribbon as a finishing touch. This can be any ribbon you like as long as it fits easily on the can. Once you have your ribbon cut a length that you like, I used a 10″ length of ribbon. Wrap the ribbon around the can and tie a simple bow, same as you would tie a shoe. If you are worried the ribbon may slip, then a bit of tacky glue can be used to adhere it to the can. It is easiest to use an instant dry or a quick dry tacky glue so that you won’t have to hold the ribbon in place while the glue dries.

6. Fill the can with potting soil to the top edge. Wet the soil until it is damp with warm water so that you stand less chance of disturbing the seed or moving it to one side of the planter by watering after the seed has been planted. Create a small 1/4″ deep hole in the damp soil with your finger and place the seed inside the whole, then cover with a light layer of soil. It will be best to have only one plant per planter to ensure that the plant has the most room and won’t be too crowded in the planter.

7. Water regularly and enjoy your bountiful harvest!
Seems I’m Growing Corn!

Seems I'm Growing Corn!

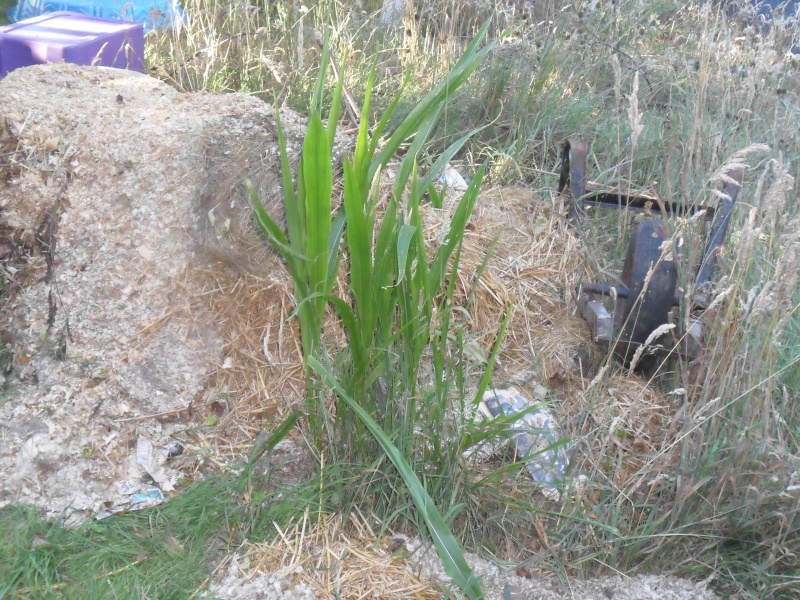
I’ve been watching this odd grass growing near the compost heap for a few weeks now. At first it just looked to be grass, but the leaves seemed broader and I left it alone rather than pulling it. Now it is 3 weeks later and it is definitely corn. A bit late in the season, so I may not get any ears to form, but I still find it funny that corn has grown there. Probably from the whole corn in the Gerbil Feed that was left over when I cleaned cages.

Soil-Free Microgreens…

I have been reading up on micro greens as of late and have found that I find the concept pretty fascinating. I like the idea of turning seed into edible and scrumptious greens which can be grown very quickly and with little cost, assuming you can find a good supplier of relatively inexpensive bulk seed.

What is a Microgreen, you ask? Well, a microgreen is simply a regular green such as lettuce, spinach, clover, etc. that is eaten at a very young age, on average when there are just four separate leaves on the entire plant. At this young age the plants are said to be more nutritious and better tasting. While I can’t personally vouch for the nutrition claim, I can personally support the taste and the delicacy of these greens and I have found them to be much better in comparison to the larger version in some cases. They can also be grown in smaller spaces than a mature plant can be grown and some varieties can actually be harvested many different times.

Having grown these greens in soil before with great success I wondered if there might be a soil-free option available for growing these greens. Now, don’t get me wrong, I am not opposed to soil in the house, but I was curious about growing these greens without using soil and instead using compostable materials such as newspaper and paper towels which could be thrown on the compost heap when I was done growing the greens with them.

I figured, as usual, that the best way to test this out would be to plant and grow some microgreens using no soil to do so. I planted Millet, Buckwheat, Oat, and Sunflower as the grains portion of my experiment and I also planted Broccoli, Loose Leaf Lettuce, and Spinach as the Greens portion of my experiment.

The following steps are the ones I used for my attempt at growing these soil free greens…

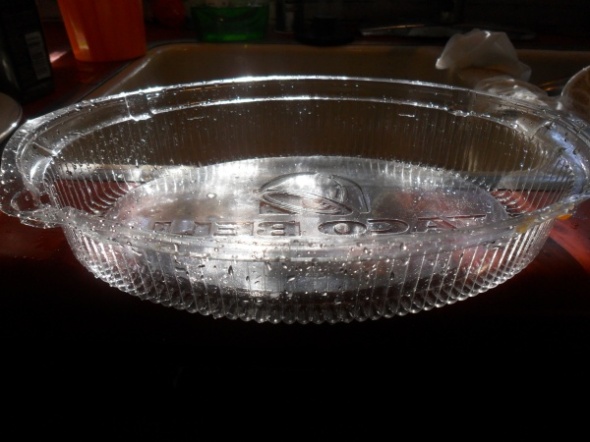
1. Select a suitable tray for growing the greens. I used a couple of trays from Taco Bell nachos and a plastic container from a store bought pie. Anything that will hold water and is around 2″ deep will work as a tray.

Image

2. Pour a small amount of warm water into the tray, around 1/4″ will do. 


3. Add a layer of paper towel, toilet paper, or newspaper to the tray. I added just enough to soak up the bulk of the water, but left a small bit of water on top to soak the seeds.

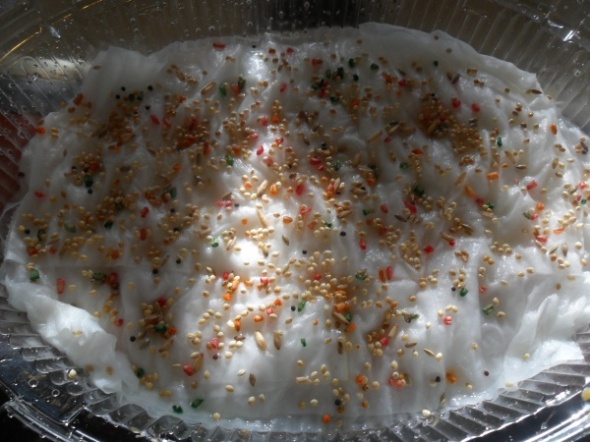
4. Sprinkle the seeds evenly over the tray.

Image

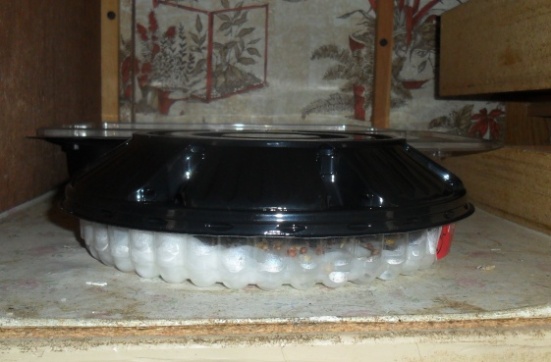
5. Cover the tray with plastic wrap or the lid to the container and place in a warm, dark place for 12 hours.

Image

I am hoping this method will work, since it saves a lot of time and mess with my green growing and will allow me to use materials that I am given for free quite regularly by my neighbors to grow some of my food.

The House With All of The Chickens…

My house has officially been deemed, “The House That Has All The Chickens”. Sort of funny in my mind that the chickens are the land mark of the house for the neighbors. I mean, the front yard has a gigantic Apple Tree and my house is the only Double Wide Trailer on the block, not to mention a car in the driveway is up on cinder blocks. Being deemed, The Chicken House, is actually a compliment when you consider all of the other things in my yard.

I suppose it could be due to the fact that I have nearly always kept roosters on my property. Having a rooster means that there is crowing going on and all of my neighbors can hear them during the day. Just walking past my house you will be sure to hear the roosters crowing or the hens cackling or the ducks quacking very loudly. Since everyone knows about the chickens and I am the only person with chickens on the block, I think they can’t help but use that as the identification for my house.

It seems that all of my neighbors have their own view on the chickens and that all of them know that the chickens are there. One of my neighbors brings me fresh fruits and veggies to feed the chickens whenever she has extra from making soup or salad. One neighbor has three young kids who like to come over and feed their bread heels to the chickens. Another neighbor has had to deal with a lot over the years, since the chickens like his yard and the ones that escape tend to end up over on his side of the fence. He always takes it in stride, though and has never said anything ill about it. The other neighbors are new to the block and I can’t really tell what their take on things is.

I, myself am also guilty of using the chickens as a land mark when I give directions to my house. “Turn right and go around the corner. My house is the third house on the right. The one with the big Apple Tree in the front and the chickens in the back.”. Guess it was me who started it, then.

This morning I overheard the UPS man asking my neighbor which house was the one with my address and he received the reply, “That’s the house across the street with all the chickens.”, this was followed by the UPS man asking, “There’s chickens over there? Doesn’t look like it.”, and the reply from my neighbor, “Yeah she has lots of them over there. And ducks too, I think.”

I was working on the pond when I heard this conversation and the UPS man walked over to me to deliver the package. After I signed for it he asked me, “Do you really have chickens back there?”, so I answered, “Sure do!”, “That’s awesome! Can I see them? Do you sell eggs?”. I then showed him around back and we spent a couple of minutes chatting about them. He seemed pretty interested and excited to see chickens in the Suburbs.

As he was leaving he said, “I’ll let the other guys on the route know which house matches this address. You know, that it’s the one with the chickens in the backyard and pretty apple tree out front.”. I admit I giggled a bit at this comment, but I consider it a win since he mentioned the Apple Tree.